end grain
open main page here
NOTE: This page was done back in 2005 when I first got the camera that allows hi-res end grain closeups. I have not changed the following since then. Although I do continue to take end grain shots as described below, I also now have a much better process that gets a VERY clear pic of the fine grain detail in end grain shots. That process is described here: end grain UPDATE
So, here's the deal: I have a nifty new camera that's smarter than I am and I'm just learning how to use it and how to accomodate its color idiosyncrasies (which, I am happy to say, are a great improvement over my "old" camera). The focus on these new end grain closeups is razor sharp (as you can easily see from the scale that is a part of each pic), but in some cases the color is not the best. The occasionaly messiness of the end grain shots is NOT due to the camera but due to the fact that many of the ends were not sanded down with the thought of taking such great detailed pics. Also, the pores are frequently clogged with sawdust because, again, I did not surface the ends with this level of detail in mind.
Purists may complain that the "proper" way to get end grain shots is to slice off a thin layer with a razor. This web site is not for purists, it is for woodworkers, who MAY be willing to take the time to put a 10x loupe up to the end of a plank but who are unlikely to whip out a razor and a microscope and go to the great care all that entails (and if any of you have ever tried to slice off a thin layer of end grain from purpleheart or African blackwood, for example, you'll know that it entails a great many swear words at the very least, and that's BEFORE you cut your thumb off).
Many of the pieces DO call for better preparation than I've done, but now that I realize it, I'll go back (someday) and resurface and rephotograph the more egregious ones (and there are some REALLY awful ones here and there --- I only sanded down to 200 grit and even that wasn't always done very carefully as you can see from the BASSWOOD sample down below).
Although the camera is capable of more detail, I've limited myself to about 10x because a 10x jewler's loupe is probably the most magnification the normal woodworker is likely to want to bother with or have readily available.
The first pic of each set will be about 2.5x to 3x, the first enlargement will be twice that or 5x to 6x, and the 2nd enlargement will be twice that again or 10x to 12x. I've created a very precise little scale that I use with each, so it's easy to see what the level of magnification is (just hold a ruler up the the scale --- if the "1-inch" scale actually takes up 3 inches, then it's 3x.
Here are are few samples:
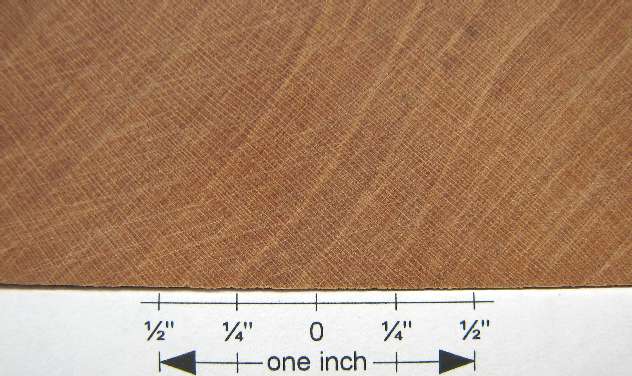
CHERRY: this shows very nicely the rays (in this case, the lines from upper left to lower right) that allow quartersawn cherry to sometimes show very nice, tight, ray flakes.
Notice how the ruler is not pure white (as it should be, and as it almost is in the wenge pic directly below). Again, I'm not yet fully conversant in how to accomodate the color idiosyncrasies of the new camera.

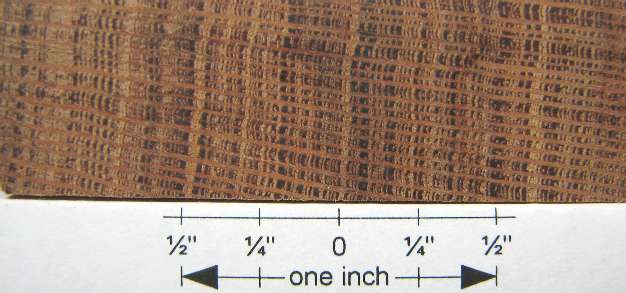
WENGE: the almost-horizontal lines are sanding scratch marks. You'll see a lot of that in the new end grain closeups because I didn't do fine sanding on very many of them.

OSAGE ORANGE: an aged piece with a lot of patina and color-deepening due to age
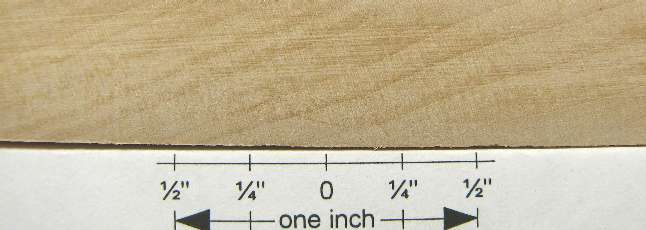
BASSWOOD: even at this magnification, you can see the weakness of the grain pattern that makes this wood such a favorite of carvers. On this one, as on the wenge, the horizontal lines are sanding scratches.
LACEWOOD: here's one your really don't NEED a closeup of to see the strong rays --- on this one the almost-horizontal lines are NOT sanding scratches, they are the rays (the vertical lines are the growth rings).